We started with this project idea from Martha Stewart, but adjusted the directions to make the project more kid-friendly. I did not take any pictures during the process because Jesse and I were both covered in glue, but we had so much fun together!
Here is what you need:
Latex Balloons (we used medium-sized and found that blue and green balloons are easier because you can see where you need to cover the balloon better.)
Orange tissue paper
Wheatpaste (either buy from art supply store, or make your own. It's super easy, and here's the recipe we used. It made just enough for 2 medium pumpkins.)
Newspaper
Cup or mason jar
Clothesline or rope
Clothespins
Sharpie Marker or black paint
Green and brown Felt or wool roving
Here is what you do:
1) Make glue according to recipe. Set aside and let cool.
2) Cut 1-2 inch wide strips of orange tissue paper. Set aside.
3) Blow up balloons. Cover your work surface with lots of newspaper.
4) Martha's directions called for perfectly aligned strips, using a paintbrush to brush on the glue. However, after attempting this for 2 seconds with a 5 year-old, we gave up, and smeared the glue on with our hands. We smeared glue on the balloon, then placed the strips of tissue paper from the knot to the top of the balloon. Smooth the strip down and smear glue on top of it. The balloon will tend to want to roll, so balance the balloon on the cup or mason jar while you're working on it to prevent it from rolling all over the newspaper.
5) Place the next strip of paper slightly overlapping your first strip. Continue this process, overlapping each strip slightly as you work your way around the balloon. Make sure the entire balloon is covered. Then, start another layer. We made 3 layers of tissue paper for each balloon.
6) When you're done, hang the balloon from the knot using a clothespin on a rope. Our balloons took 24 hours to dry. It may take longer if it's particularly humid where you live.
7) When the paper is dry, pop the balloon while it's still hanging. It took a few minutes for the balloon to deflate and release the pumpkin. The paper pumpkin will crumple a little, but don't worry, you can fix that later.
8) Add your finishing touches! Draw or paint a face on your pumpkin to make him a jack-o-lantern. (We used a black Sharpie marker.) If the pumpkin crumples a bit, just blow into the open end, and it will puff back up. I needle-felted a stem and leaf using some leftover roving, but you can just as easily roll up a rectangle of felt for the stem and cut a leaf from felt. Stick both in the opening on top.
 |
| Jesse's pumpkin |
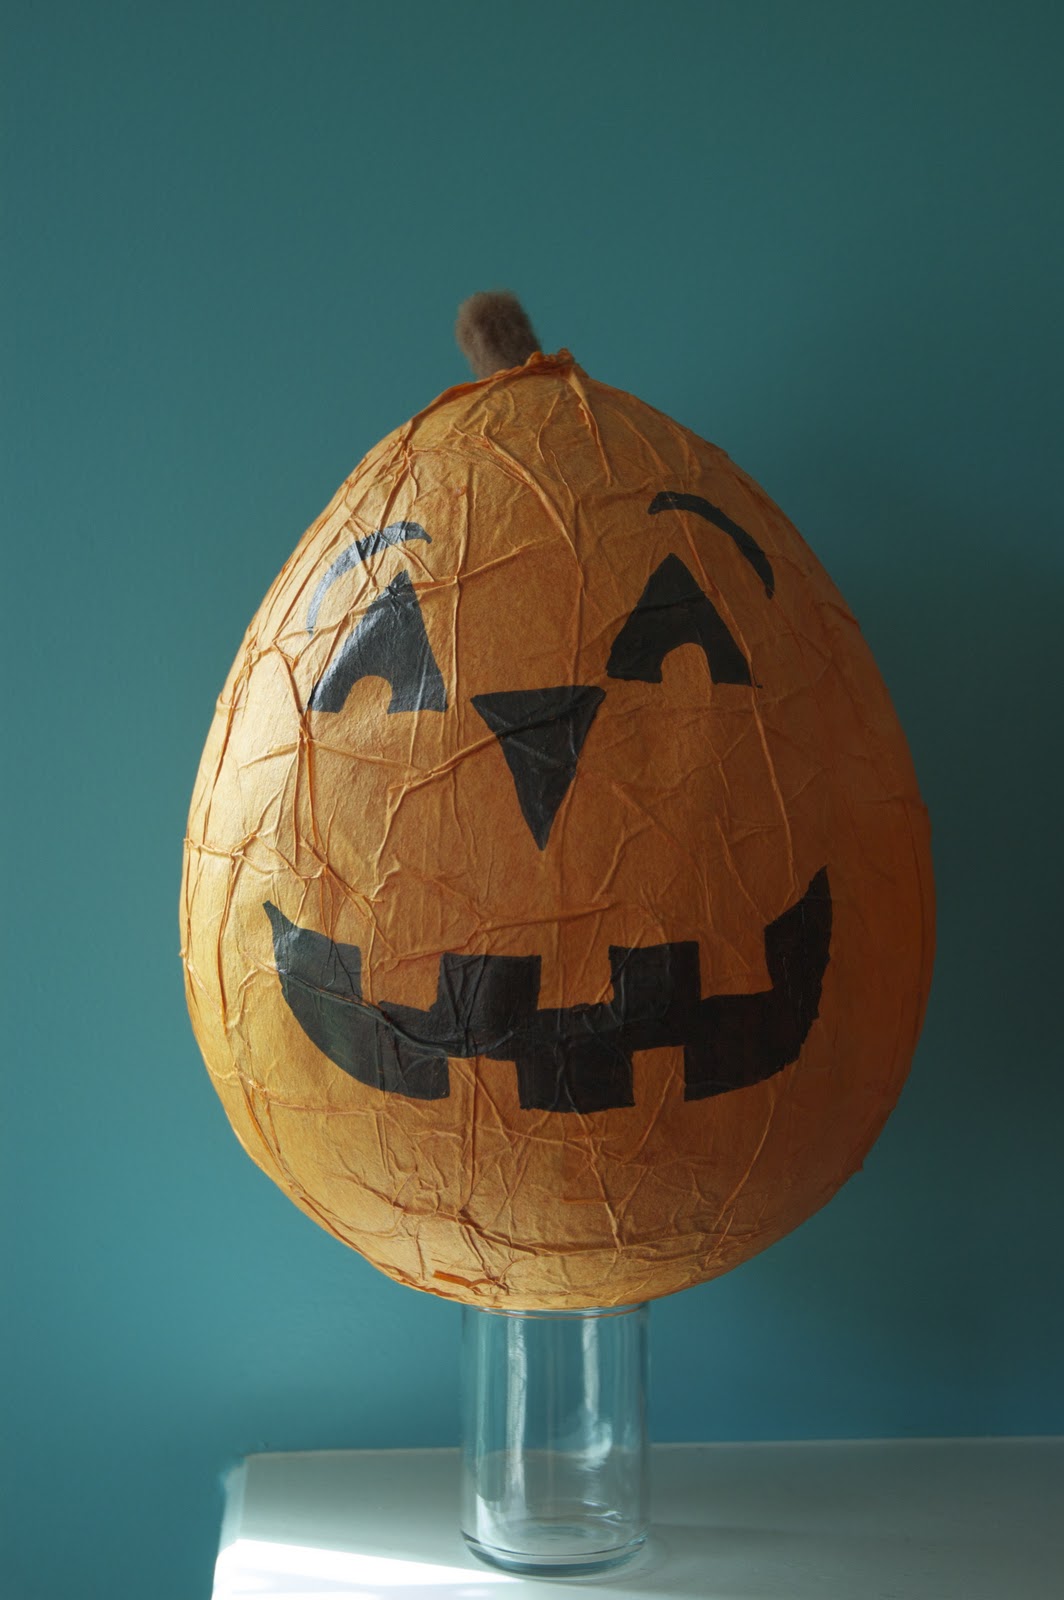 |
| Mommy's pumpkin |
 |
| Happy crafting! |
so cute, Amy! I love them!
ReplyDeleteNicely done! Jesse made a great face! (Yours is pretty good, too.) :o)
ReplyDeleteThere's no acorn bunting on your mantle. Did the acorns fall off? I couldn't figure out a better way to do it than hot glue, but I wasn't sure if that would hold up. :o/
Thanks, sisters! Robin, the acorn garland has a permanent home upstairs over my craft table. It's my favorite and I'm spending so much time up there recently. It makes me smile every time I see it.... but maybe it needs to move downstairs for a while... :o)
ReplyDeleteThese are awesome! I will have to steal this idea, the boys will LOVE it! :)
ReplyDeleteOr maybe I just need to make you another one for your birthday. :o)
ReplyDeleteNicole - I hope you and the boys have fun making these! They were totally fun!
ReplyDeleteRobin - stop using me to procrastinate, and get to work on moving! ;o) I love you!!!!